⚡ HOW TO MAKE YOUR CAR'S HEADLIGHTS LOOK NEW? ⚡
Share
Headlights are the most forgotten when cleaning your car, but apart from being an aesthetic issue, you should also know that yellow or opaque headlights reduce the light emitted by your vehicle by up to 60% and can put you off an MOT . 👎
But don't panic 🤯! In this blog, we're going to explain why it happens and the best solution without using toothpaste... or leaving a kidney behind. 😉

1. WHY DO THEY BREAK DOWN?
Over the years, the outer layer of the headlights gradually loses its translucent finish due to exposure to sunlight, acid rain...
One of the most extreme and also less common cases is wear and tear due to the use of bulbs with too high a power and that are too close to the lenses, which end up burning and darkening. In this case, don't even think about it. Change the headlights! 🔁

2. WHAT CAN I DO?
First of all, you may have seen hundreds of videos with “Home Remedies” , using baking soda, lemon, toothpaste… The best advice we can give you on this blog is to leave the lemon for lemonades 🍋 and Gin Tonics 🍸 and invest in professional remedies , which are professional for a reason.
All these types of “remedies” will only give you a “good temporary finish” to the naked eye, but they will completely scratch the entire area and remove the protective layer against UV rays (not the ones that make you tan 🌞) that all headlights have. This layer prevents the domes from burning due to the light of the bulbs and they last intact for much longer.

3. SOLUTION
After reading all this, you may be a little scared 😨, but don't worry! At BassMotor, we are in health and sickness.
You can replace the headlights with new ones or ones from a scrapyard, but the price ranges from €70 to €200. If you want to save that money 💲, you can restore them : you have the option of having a professional do it for approximately €60-100 or doing it yourself.
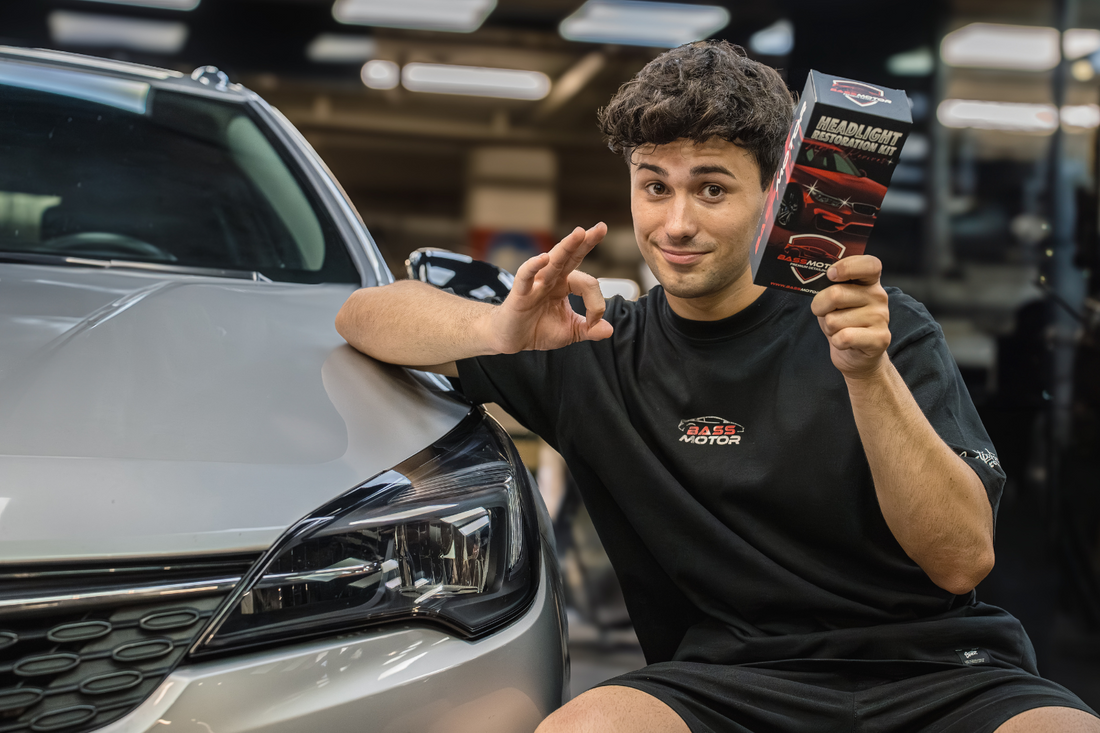
There are Headlight Restoration Kits for 20-30€ that include everything you need to make your headlights look like new at home. In this blog we are going to focus on the Headlight Restoration Kit from BassMotor (Always sweeping for home). You won't need to disassemble parts or be a professional; with desire and the instructions it will be more than enough. 🤘

4. INSTRUCTIONS FOR USE
- Prepare the headlights -
The first step is to completely clean the headlight domes 🧼 to remove all dirt and debris (mud, mosquitoes, gravel).
To do this, you can use an all-in-one cleaner , a glass cleaner , or if you have a lot of bugs, a bug remover along with a microfiber cloth . Remember! The better the cleaning, the easier and better the finish.
It's not that we don't trust you, but it's important that for the next steps, you place the included masking tape around the headlights. This will protect the closest areas and prevent the paint on your bodywork or bumper from being sanded and polished, as it's not usually a very delicate process. ✨
- Wet sanding -
Now comes the most fun part: sanding! This will remove the most worn areas that prevent your headlight from being translucent. 🔦
The kit includes 12 pieces of sandpaper with different grits . The lower the grit number, the more sandpaper...
- P800 to remove the most worn areas. (4 Units)
-
P1,200 to remove any remaining defects.
(4 Units)
-
P2,000 to ensure that the area is left undamaged.
(4 Units)
Remember to do it with gentle, circular movements , and when you get to the corners, make a straight motion back and forth to get it as good as possible. ✅
Stop! Before you continue with the blog, we remind you that this is a wet sanding process , so it is VERY important that while you do it, you moisten both the sandpaper and the headlight to avoid burning the domes.
- Polished -
Before you start polishing them, remember to clean and dry the area to remove all the remains of material created by sanding. This is essential so that you can see the real condition of the headlights after all the hard work done.
With the headlight ready, we will start with the polishing. The polish included in the Kit acts as a polish and sealant , something basic after sanding to have the headlight lenses well protected: it creates a protective layer against UV rays to avoid possible burns caused by the light from the bulbs.💡
After all this theory, let's start practicing: place the adapter and sponge that come in the kit on the drill and spread the polish over the lens in a very thin layer. Unlike the rest of the world 🌏, it's better to have too little than too much and mess up the job.
Don't be alarmed if it doesn't turn out the way you expected, this step is all about repetition . Polish it again until it's perfect! ✅

You can now breathe easy, the hard part is already done . Now just remove the masking tape around the headlights and clean any remaining polish with a damp cloth.
With all this theory you can now leave the headlights of your car or motorcycle as good as new . We won't give you the pass mark, the ITV will give it to you, saving you time ⌚ and money. 💲
In addition, here is a video so you can see our tricks in action.
